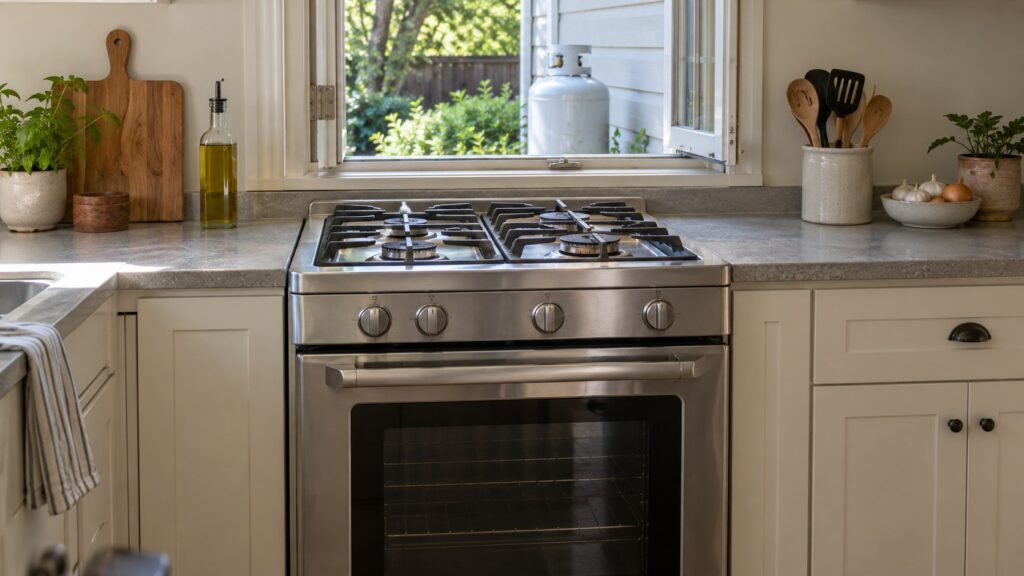
A DCS range propane conversion means changing a range that was built for natural gas so it burns liquid propane safely, or the other way around, and it is a job for a qualified gas installer using the factory kit for your exact model. The range is set up for one fuel at the factory: the burner orifices, the regulator and the valve settings all differ between the two. On our model list the propane versions carry an L at the end of the number, such as the RGV2-305L, the RGV2-364GL and the RGV2-485GDL. Everything else in this guide is about knowing when you need a conversion and what a correct one involves.
Why can’t a DCS range just run on either gas?
Natural gas and propane carry different amounts of energy and arrive at different pressures. A burner is built around that. The orifice, the small opening that meters gas into each burner tube, is sized for one fuel, and the pressure regulator is set for one pressure. Run propane through a natural gas orifice and the flame is too large and can be unstable. Run natural gas through a propane orifice and the burner starves, giving weak, lazy flames. Neither is safe or satisfying.
That is why the burner flame is the first clue. A range on the wrong fuel setting shows yellow, lifting or noisy flames and may produce soot. If your burners look like that, read our guide to a yellow flame before assuming the range is dirty, and check whether the fuel setting matches the fuel in the line.
How do you know whether your range needs a conversion?
Start with the rating plate. It states the fuel the range was built and set for, and the model number’s suffix gives a hint: an L in a model such as RGV2-305L points to propane, while the same range without the L is set for natural gas. Compare that with the supply: a house gas line is natural gas in most cities, while a tank outside the house is propane. If the two do not match, the range needs converting or the wrong model was ordered.
This comes up most when someone moves, buys a used range, or adds a range to a home that has propane. It also comes up when a kitchen is renovated and a gas line is changed. Sort it out before the range is first lit, because lighting a range on the wrong fuel is exactly how the problems below start.
What does a correct conversion involve?
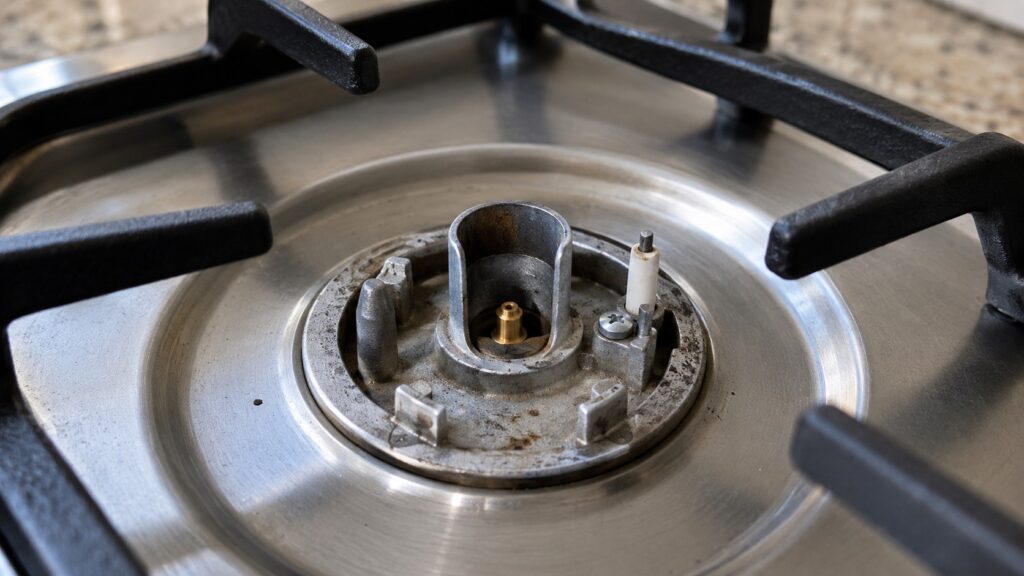
The factory kit comes with a set of orifices for the surface burners, usually a separate set for the oven burner and the broil burner, and a way to change the regulator over to the other fuel. The installer shuts off the gas, removes the grates and burner caps, swaps the orifices, converts the regulator, and then adjusts the low-flame setting on each valve so the burners hold a true simmer. The kit’s instructions list the exact parts for your model, and a label is usually applied to show the range now runs on the new fuel.
The simmer adjustment matters more than people expect. DCS burners are known for a real low simmer, and a valve left at the old setting after a conversion will either blow out on low or burn too tall. For help with a burner that will not hold a low flame, see DCS cooktop weak flame.
Why is a do-it-yourself swap a bad idea?
Gas work is regulated for a reason. A kit installed with the wrong orifice in the wrong place, a regulator that was never converted, or a joint that was not leak-tested can cause leaks, soot, carbon monoxide or a fire. Never drill, ream or file an orifice to make it fit another fuel, since the bore sizes are precise. Use only the genuine kit for the exact model and let a qualified installer do the work and the pressure and leak checks, which is the same advice we give for DCS grills in our natural gas versus propane guide.
If you smell gas at any point, stop. Do not use switches, flames or phones in the kitchen, leave the house, and call the gas utility from outside. Our guide to DCS gas smell safety steps lists what to do.
What should you check after the conversion?
Every joint gets a leak test with soapy water or an approved leak solution, and any bubbles mean the gas stays off until it is fixed. Then light each burner in turn. A healthy flame is mostly blue, steady and evenly spaced around the burner, without yellow tips or lifting. Turn each knob to low and confirm the burner holds a small stable flame, then turn it up and down quickly to check it does not pop out. Finally test the oven bake and broil burners, and confirm the igniter lights them promptly.
Keep the paperwork from the installer, because it records which fuel the range was set for. The range-wide installation checks, including gas shutoff, flexible connector and anti-tip device, are in DCS range installation requirements, and the DCS range repair page covers problems after the install.