DCS outdoor beverage center installation needs four things before the unit goes into the island: a cutout that matches the model, a shaded and ventilated space, a protected power outlet and a level base. Get those right and the beverage center cools reliably for years. Get them wrong and it runs hot, ices up or trips a breaker, and the fix is a lot more work after the stone and the counter are in.
What should you confirm before cutting the island?
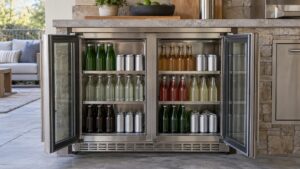
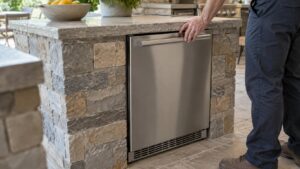
The beverage centers on our model list, such as the RF24BC3, RF24IM4 and RF24KE3 families, are outdoor-rated 24-inch units, but the exact cutout width, height and depth belong to the model and to its installation instructions. Read those instructions before the mason or cabinet maker builds the opening, because a few quarter inches decide whether the unit slides in, lets the door swing and leaves room for airflow.
Confirm the version too. Some models are built for freestanding use and some for built-in use, and the difference changes how air gets in and out. Features change between production years, so check the rating plate or your owner’s manual for the details of your own unit. If you are comparing different beverage products for the space, our DCS outdoor beverage buying guide explains the options.
Where in the outdoor kitchen should it go?
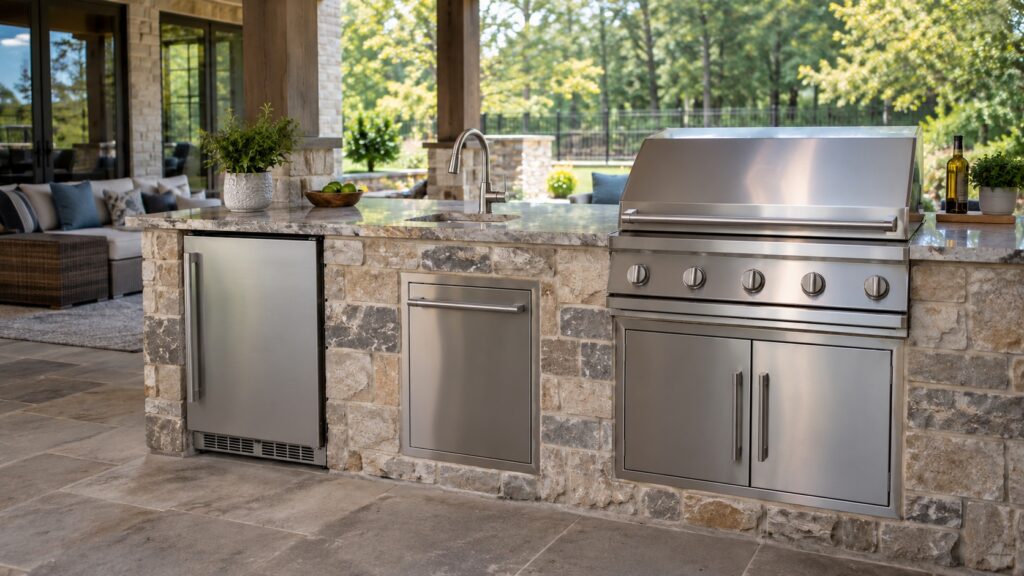
Keep it away from the heat of the grill and side burners. A beverage center works against the temperature around it, so a unit beside a hot grill has to work harder and may struggle in summer. Shade helps a great deal. If the island has a roof, a pergola or a spot on the shaded side, use it, and avoid putting the beverage center where afternoon sun hits the front.
Think about convenience as well. Place the unit where guests can reach it without crossing the cooking area, and leave room to open the door fully so shelves and bottles can come out. A door that bumps a cabinet or a post is a daily annoyance. If the door swing is wrong for your layout, check whether your model supports reversing it, as our DCS outdoor refrigerator door reversal guide explains for the related refrigerator.
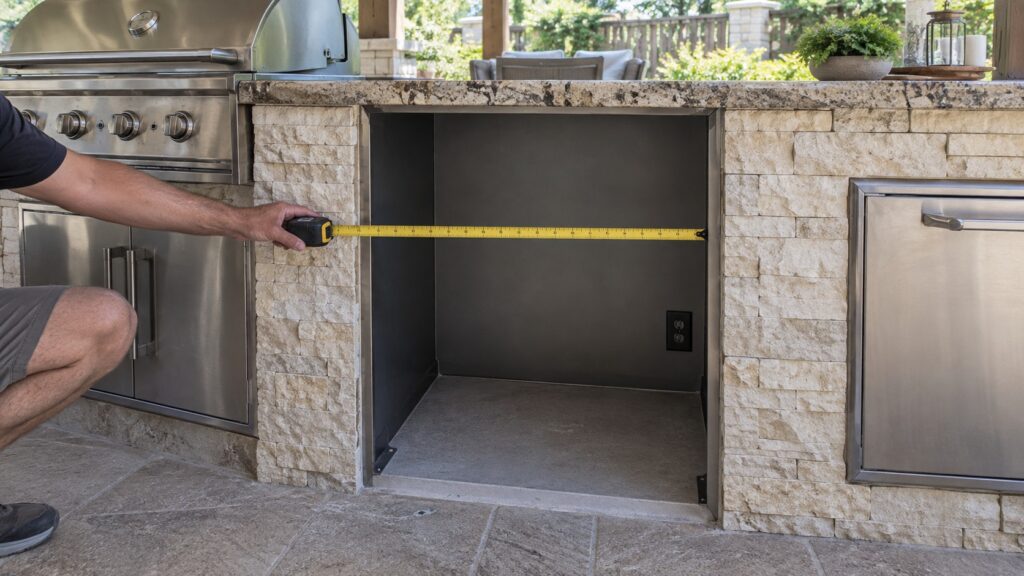
How much ventilation does it need?
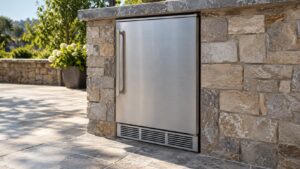
The unit rejects heat while it cools, and that heat has to go somewhere. The installation instructions specify the clear space and the grille or vent arrangement needed for your model. Follow them exactly, because boxing the unit in tight, or blocking the vent with a shelf or a panel, is the most common installation mistake and leads to poor cooling, long run times and early compressor wear.
Do not stuff foam, insulation or cabinet trim into the gaps around the unit unless the manual says to. Keep the front vent clear of cardboard and of anything stored in front of it. After installation, run the unit for a day and feel the surrounding air: warm air should leave freely rather than pooling.
What electrical and water connections does it need?
Outdoor equipment needs outdoor-grade power. Use a dedicated, grounded outlet that is protected from weather and fitted with ground-fault protection. Do not use an indoor extension cord or a shared power strip, since low voltage under load stresses the compressor. Have an electrician add or check the outlet if there is any doubt, and keep the outlet reachable so the unit can be unplugged for service.
If your model includes an ice maker, plan the water line and the drain at the same time as the cutout. A beverage center with ice needs a supply with a shutoff valve and a way to carry meltwater away, and it needs the line routed so it will not freeze in winter. If an ice maker causes trouble later, our guide to DCS outdoor beverage center ice maker troubleshooting helps. Cold climates also call for a winter plan, covered in our DCS outdoor refrigerator winterizing guide.
How do you level it and finish the installation?
One last planning point is service access. Leave the unit removable without tearing out the counter, keep the outlet within reach and avoid sealing the surrounding gaps with caulk or mortar. A beverage center that can slide out for cleaning and repair costs far less to maintain than one that is trapped in its enclosure, and the dust and leaves that collect behind outdoor units are easier to clear when you can reach them.
Set a level on the top and across the shelves, and adjust the feet or shim the base until the unit sits true. A tilted unit can stress the door seal and drain water in the wrong direction. Slide the unit into the opening carefully, keeping the power cord free of pinch points, and check that the door opens and closes without catching.
Let the unit stand upright for the time the manual recommends before plugging it in, since the compressor oil needs to settle after transport. Then power it on, set the temperature and wait until it reaches temperature before you load bottles. A beverage center that never pulls down, or a light that stays out, deserves a closer look at the outlet and the airflow before anything else.