Correct dcs cooktop installation ensures safe operation and a clean fit in your countertop. Drop-in cooktops demand an accurate cutout and the right utilities. This guide outlines the requirements; use a licensed installer for gas and electrical work.
The cutout
- Cut the countertop to the exact dimensions in the model instructions.
- Maintain the specified clearances to the front edge, walls, and any combustibles.
- Ensure adequate depth and clearance below for the burner box or induction electronics.
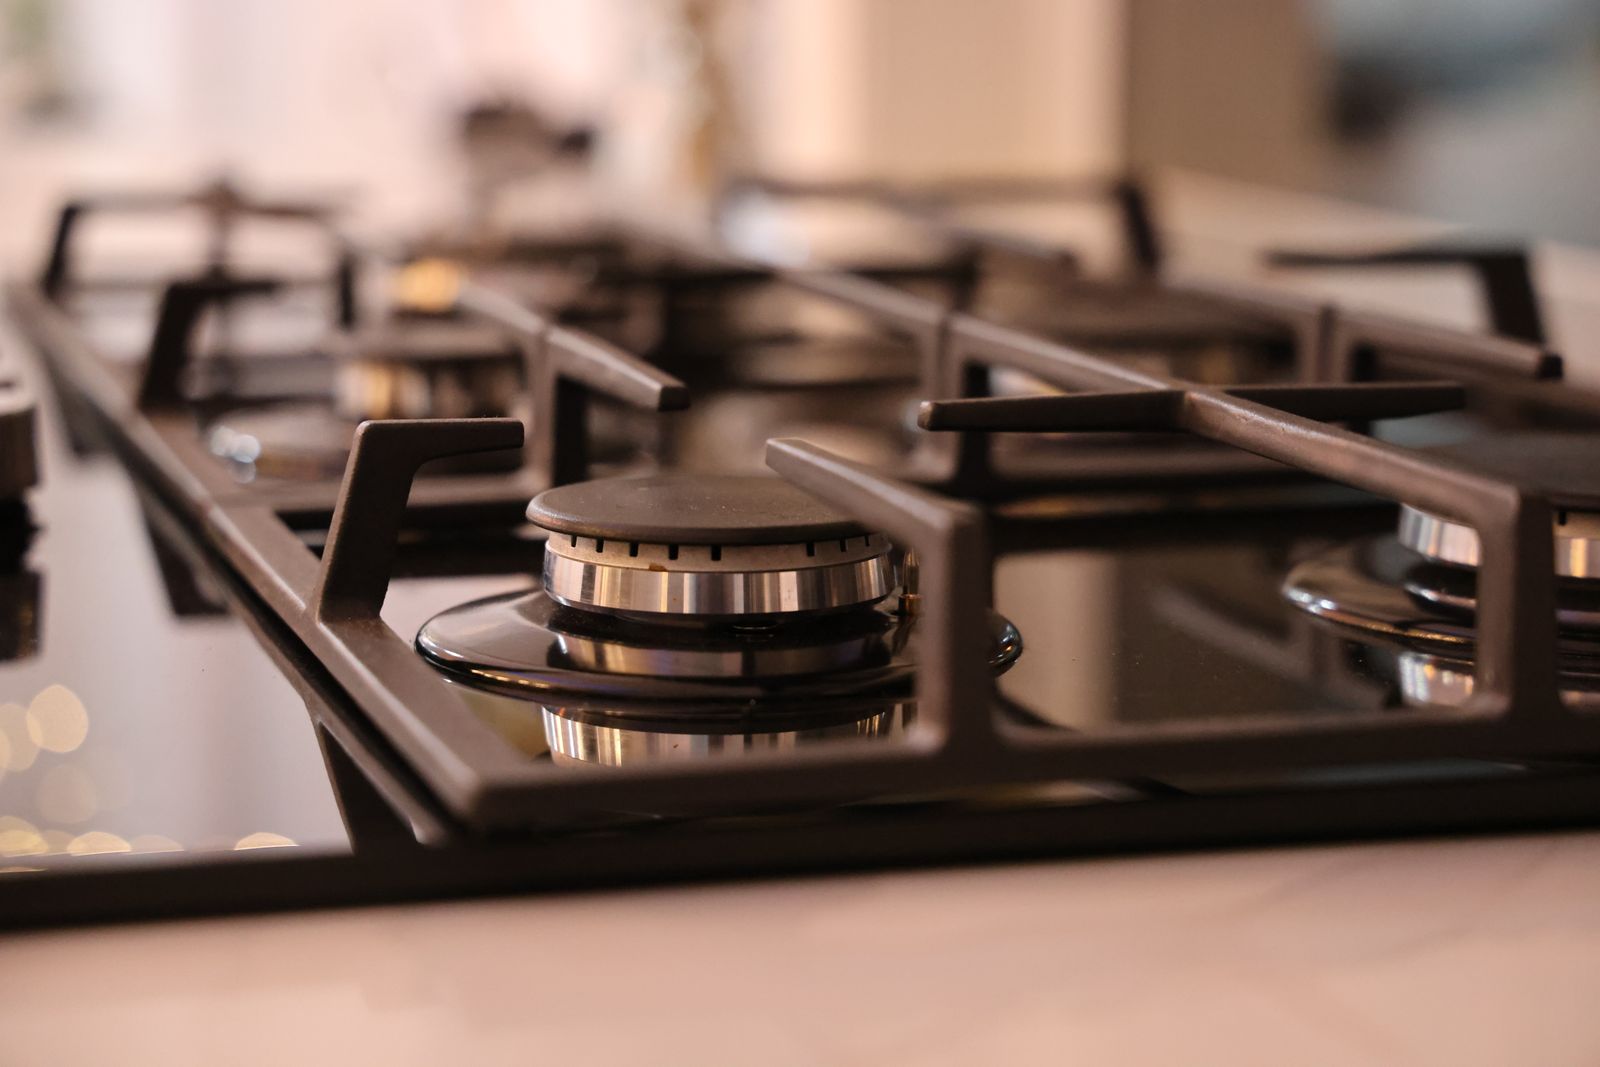
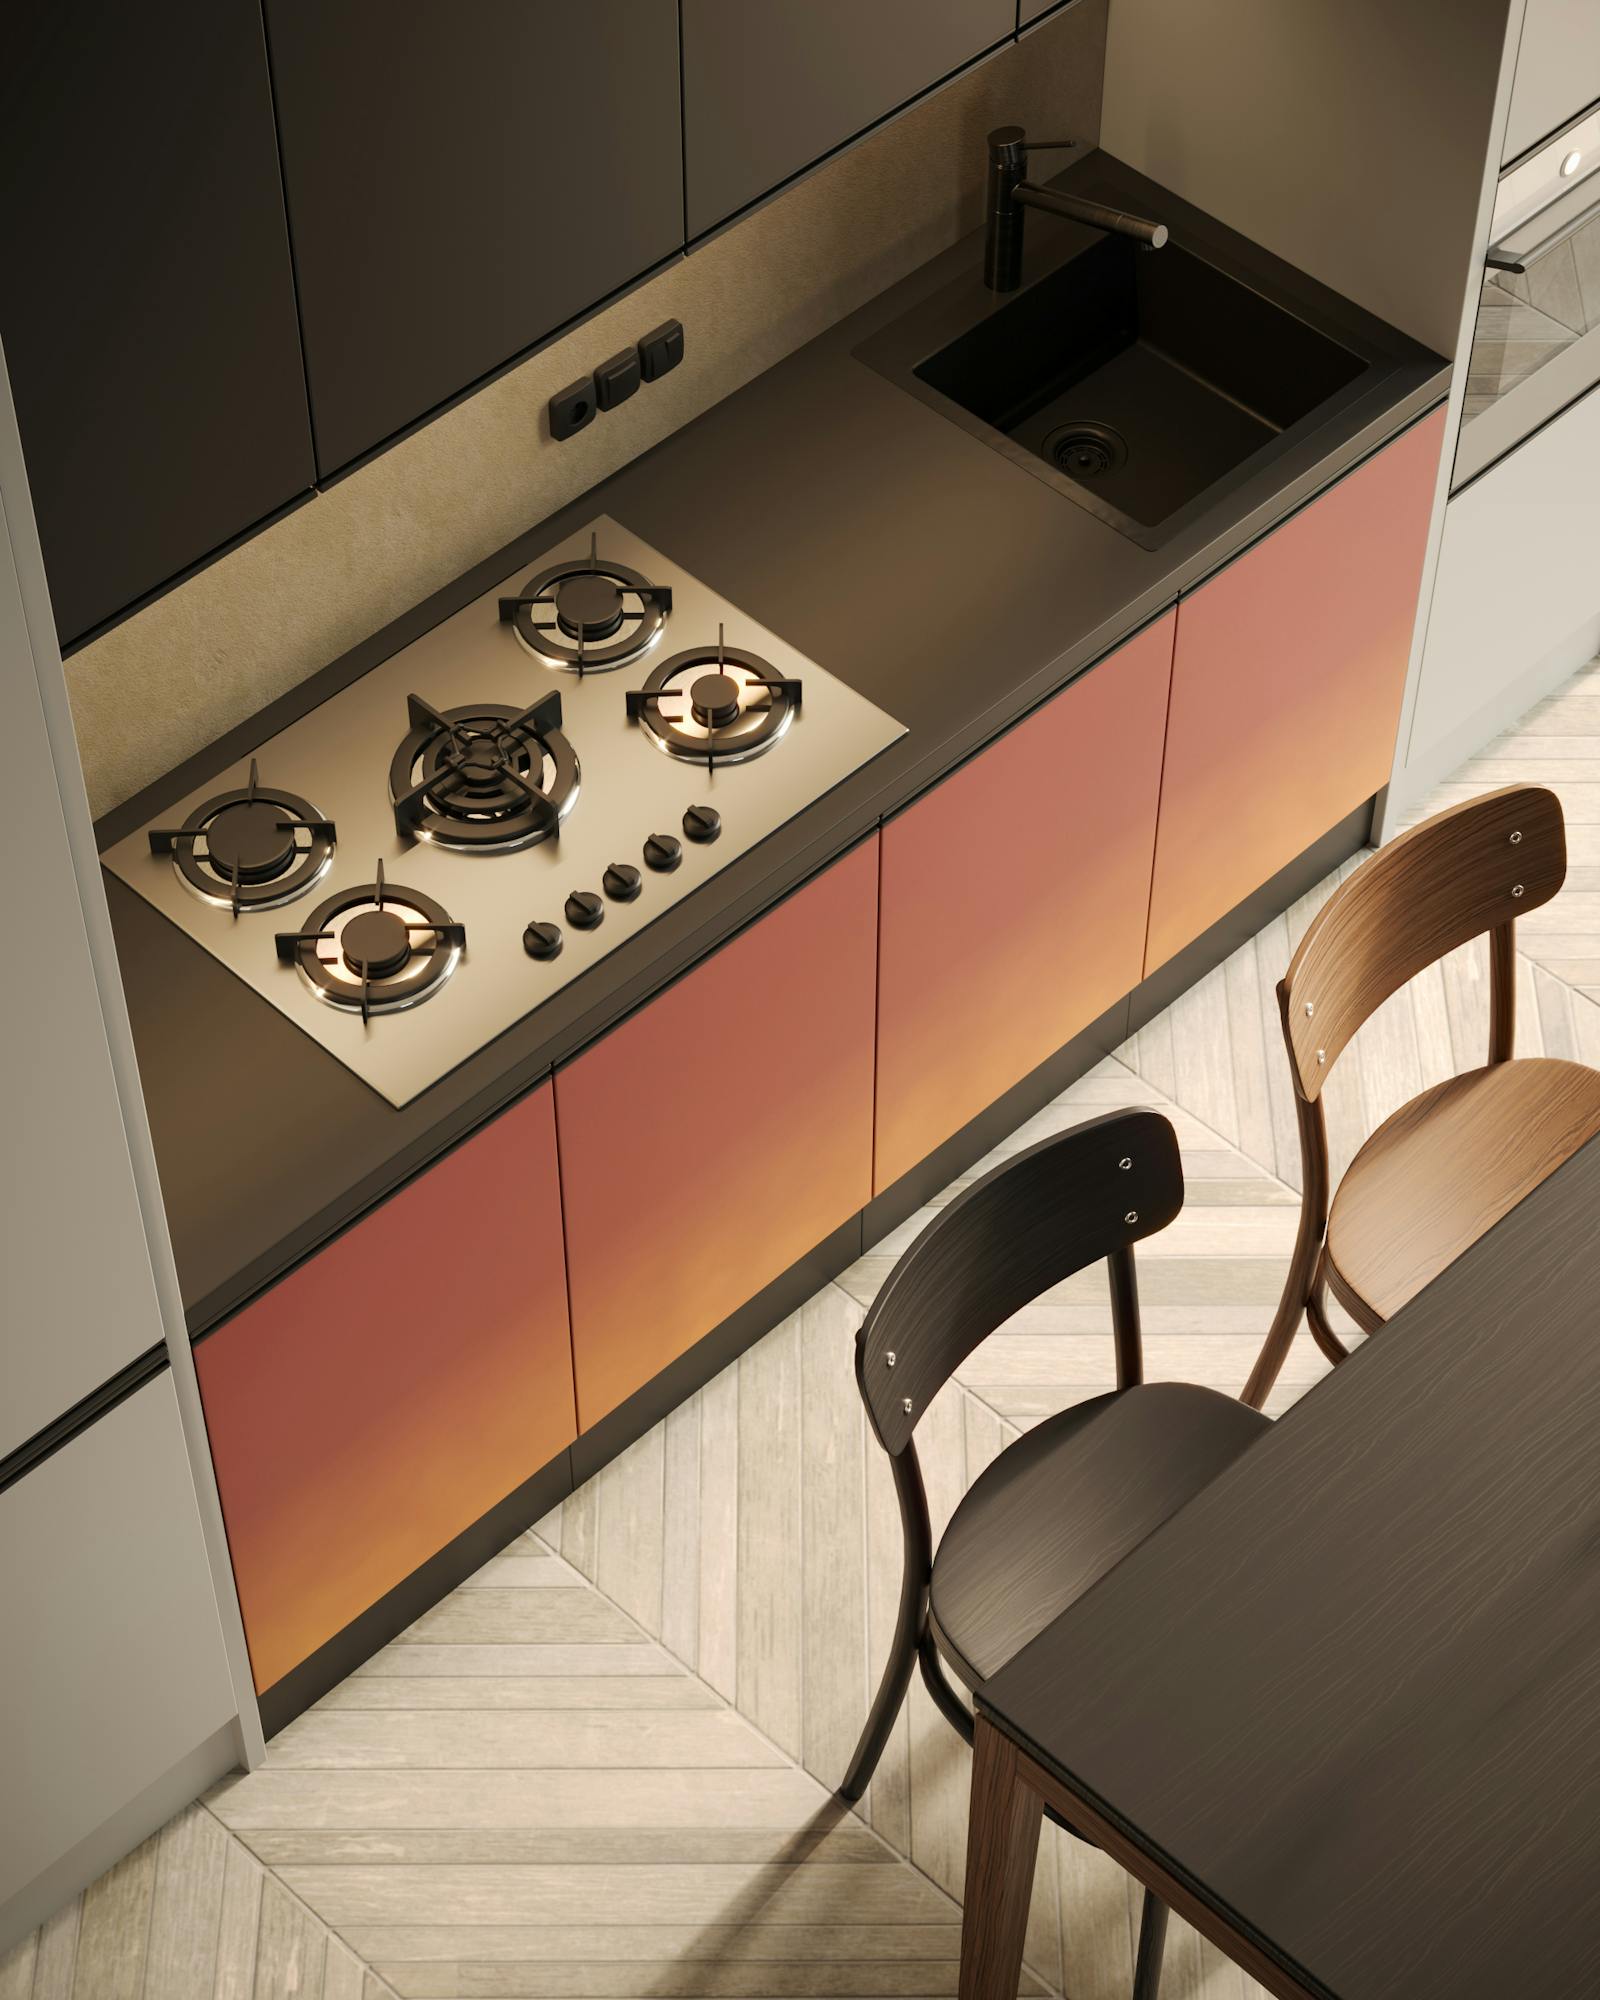
Gas cooktops
Provide a correctly sized gas line and an accessible shutoff valve, with the right orifices for natural gas or propane. A standard outlet powers the igniters. Have a licensed professional make and leak-test the connection.
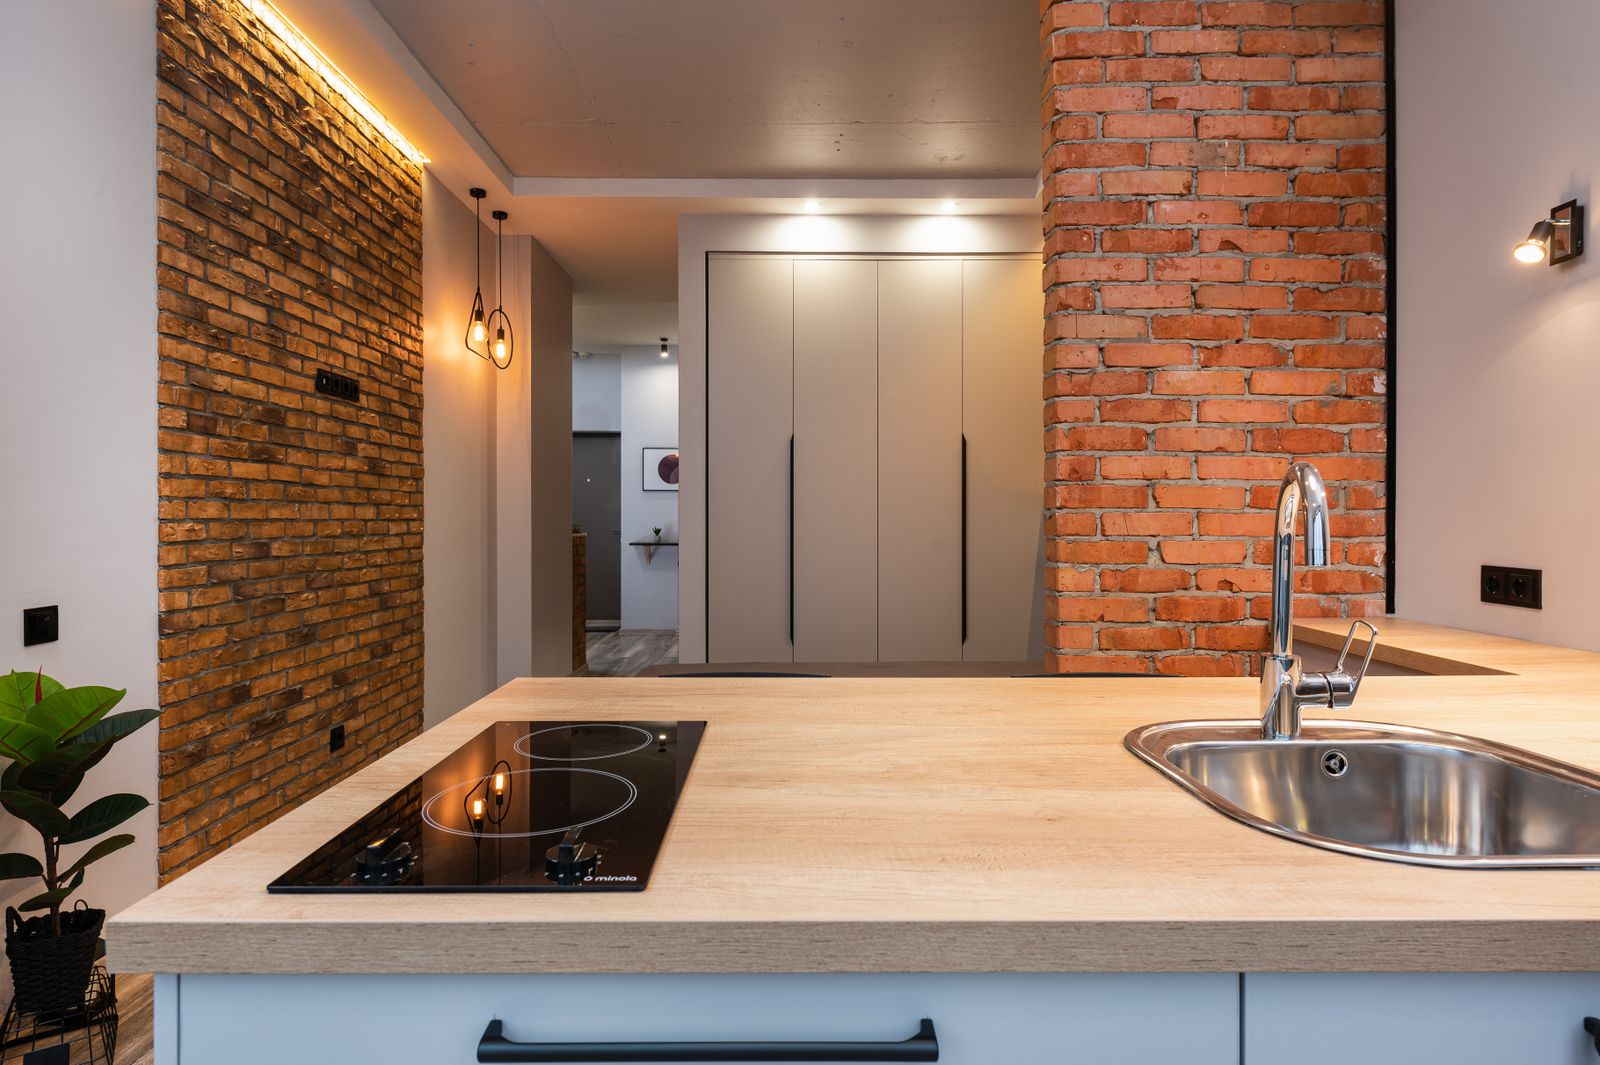
Induction cooktops
Induction models need a dedicated electrical circuit sized to the model’s rating – confirm the breaker and wire gauge with an electrician. Allow ventilation clearance for the cooling fans below the unit.
Before first use
- Confirm the cooktop sits level and the seal to the counter is clean.
- Leak-test gas connections; light each burner for a blue flame.
- On induction, verify each zone detects a compatible pan.
Get it done right
Cutout, clearances, and connections should be handled by professionals. Our team installs and commissions DCS cooktops to spec – schedule an installation or service visit, confirm dimensions on the manufacturer’s site at dcsappliances.com, and browse models on our model pages.
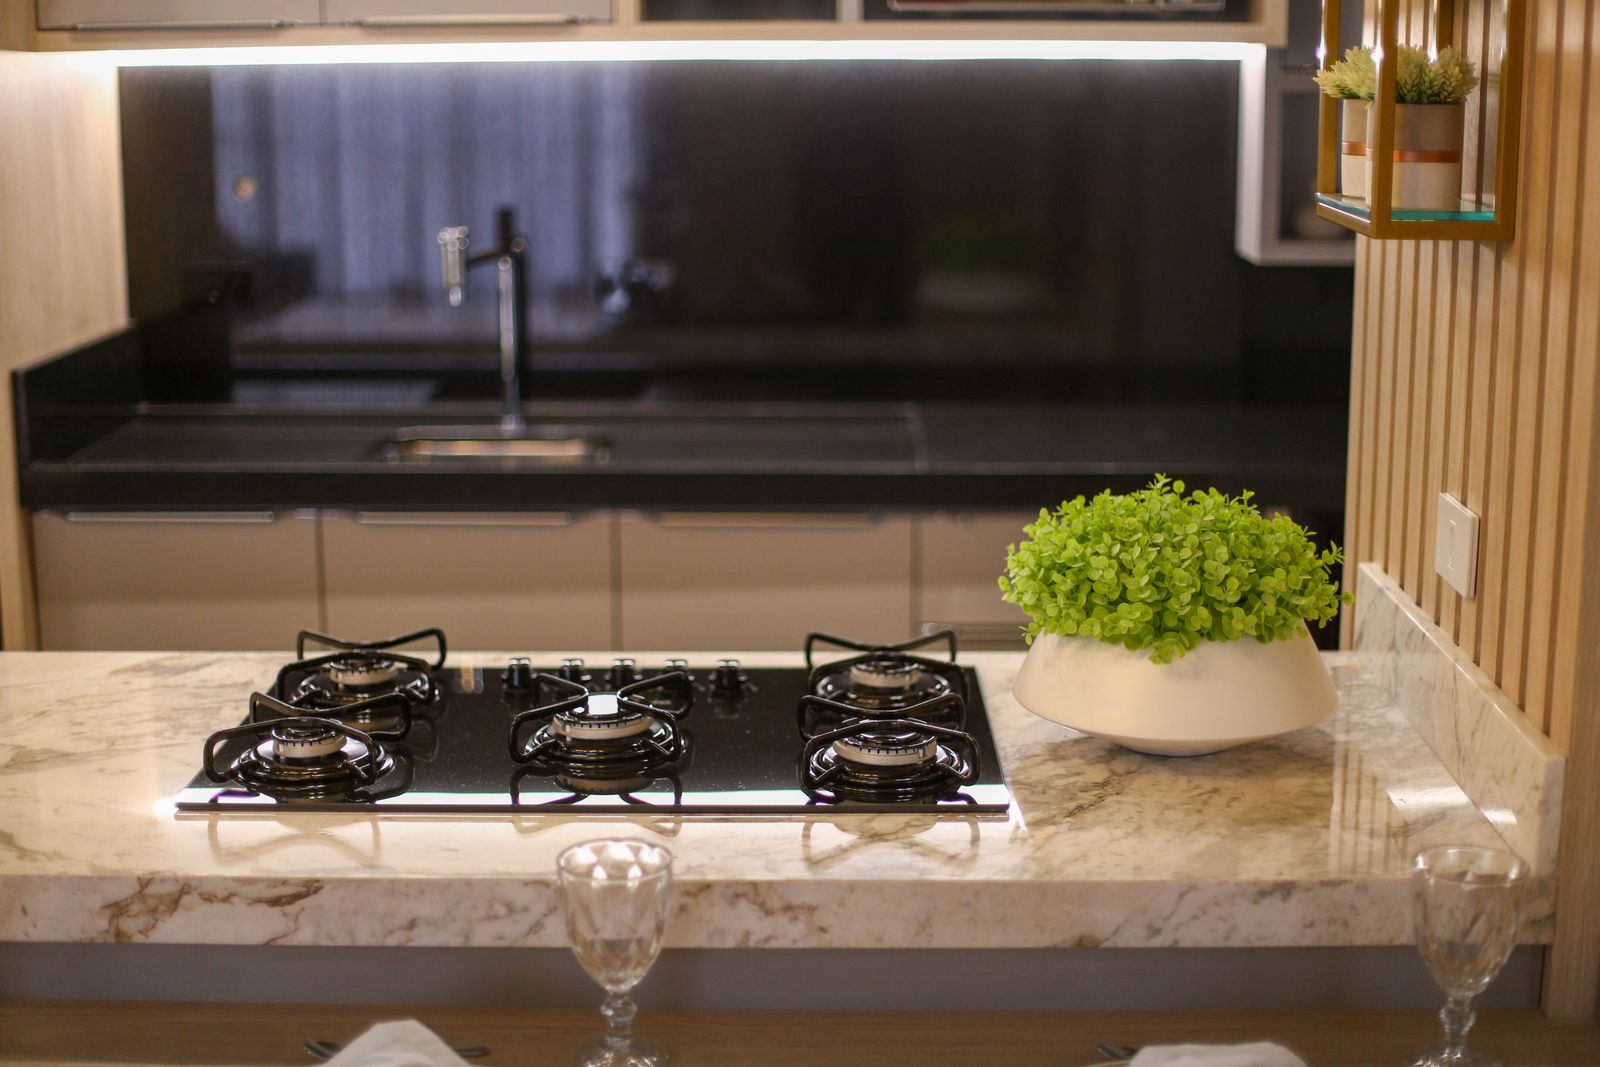
Measure twice, cut once
An inaccurate cutout is the most common drop-in installation mistake. Too small and the cooktop will not seat; too large and it will not be supported or sealed. Use the template and dimensions from the model documentation, not a guess, and confirm before the saw touches the countertop.
Clearance below the cooktop
- Gas units need room for the burner box and any drawer below.
- Induction units need airflow for their cooling fans.
- Never trap the electronics in a sealed cavity.
Sealing to the counter
A proper seal between the cooktop and countertop keeps spills from seeping below, which protects cabinets and keeps the install clean. Follow the model’s sealing guidance, and pair good installation with our cooktop care guide to keep it pristine.
Dcs Cooktop Installation: Key Takeaways
To recap on dcs cooktop installation: work through the simple checks first, keep the appliance clean and correctly set up, and address small symptoms before they grow. The guidance above on dcs cooktop installation reflects how our certified technicians approach the same issues in the field, and following it keeps your DCS appliance performing the way it was built to.
- Start with the easiest, lowest-cost checks and confirm the basics before replacing parts.
- Use only genuine DCS-specified parts so performance and safety are not compromised.
- Keep up a regular maintenance routine, which prevents most problems and protects long-term value.
- Know when a job needs a professional, especially anything involving gas, sealed-system refrigeration, or mains wiring.
If the steps here do not resolve your situation, the next move is a proper diagnosis rather than guesswork. Our team covers DCS cooking and outdoor appliances across all 50 states and 120+ metro areas, and the booking form accepts requests 24/7. You can schedule a service appointment at any time, review full specifications on the manufacturer’s site at dcsappliances.com, or browse comparable units on our model pages. Acting early on dcs cooktop installation almost always means a smaller, simpler, and less expensive repair down the line.
When to call a DCS technician
It is worth being clear about the line between sensible owner maintenance and work that belongs with a professional. Routine cleaning, simple resets, and basic setup are well within reach for most owners and are exactly where this guide focuses. Anything involving a gas connection, a sealed refrigeration system, internal wiring, or a part that must be calibrated or pressure-tested is different: those repairs carry real safety and warranty implications and should be handled by a certified technician with the correct tools and genuine DCS parts. A DCS appliance is a long-term investment built from 304 stainless to last for decades, so it is almost always worth maintaining and repairing properly rather than letting a small problem compound. When in doubt, a quick diagnostic visit removes the guesswork, protects the appliance, and gives you a clear, written quote before any work begins so there are never surprises.